Personal Website of Warren Conner
Vicky's Photo Gallery - Page six
This gallery details changing the way the hood opens. This
idea came about when I realized that you cannot get to anything on
the passenger side of the engine compartment with the hood open
using the original designer’s hood hinging method. Guess where
the oil dipstick is? So I went about changing how the hood
opens. I could have opted for one of the kits on the market
that allows the hood to open to either side, but that is not what I
wanted. I want the hood to open like a normal car with access
to the engine bay from both sides.
Making the hood open from the front entails engineering a new hinge
system from scratch. I
have been through several designs, many more computer designs, and
several models made from oak to finally arrive at what I think is
the ultimate design…
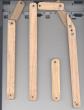 One of the many oak models that I have tested...
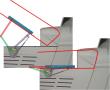 One computer design that didn't pass the test...
 Another design that failed...
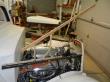 And still another failure!
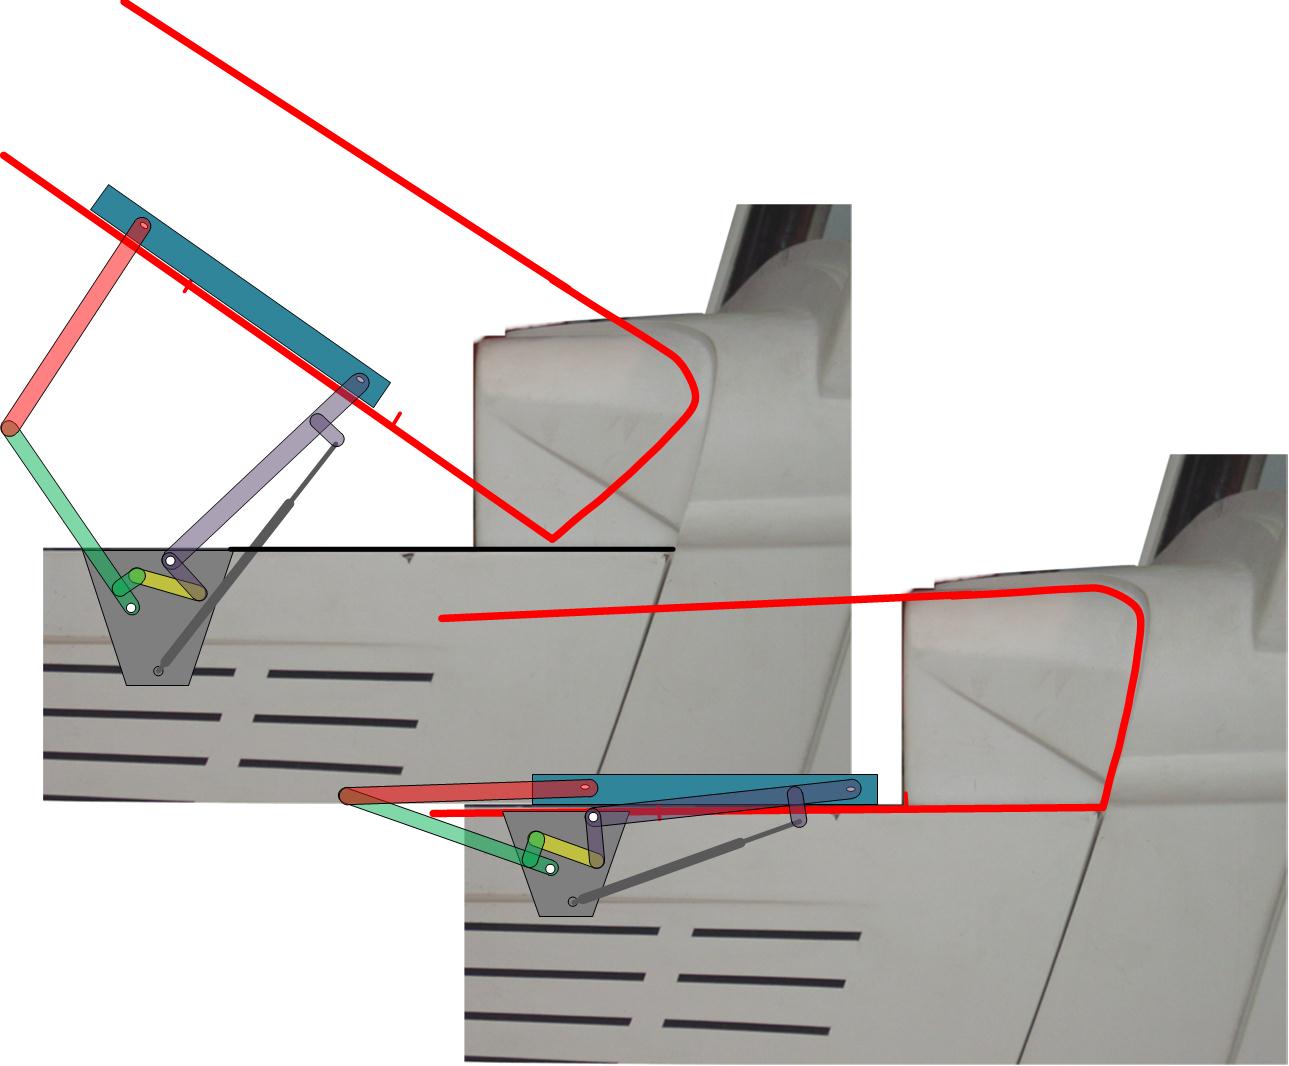
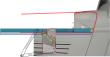 The 'Final' computer design shown in the closed position.
 The 'Final' design shown in the open position.
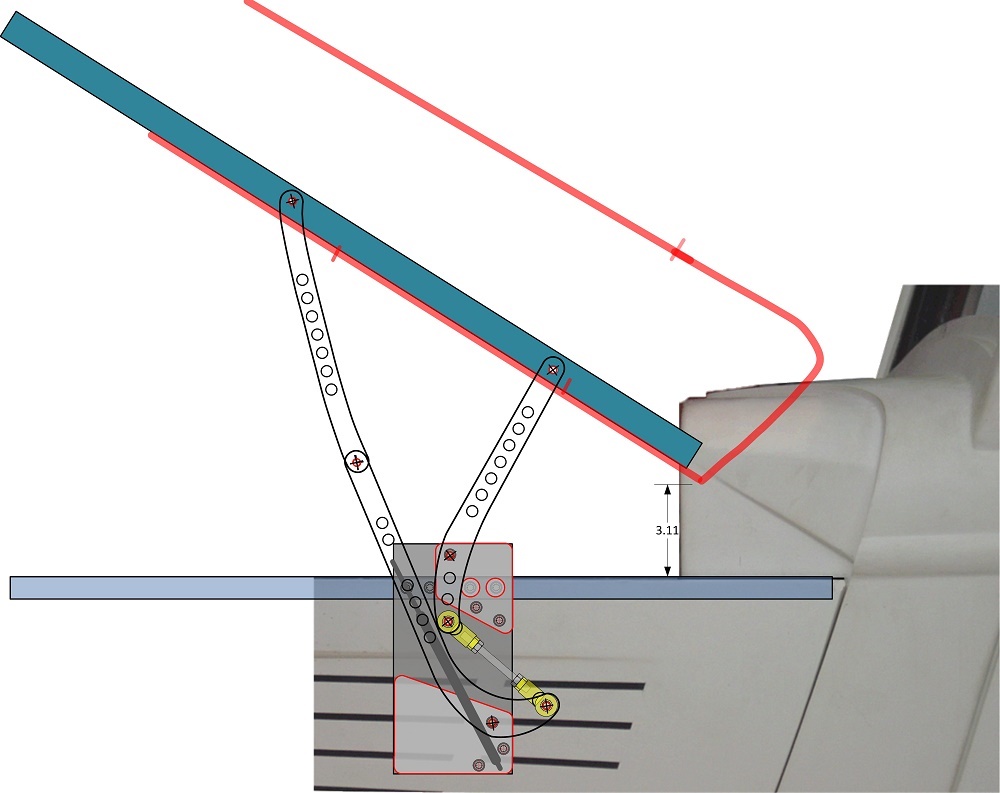
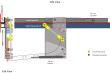 Final design mechanical views.
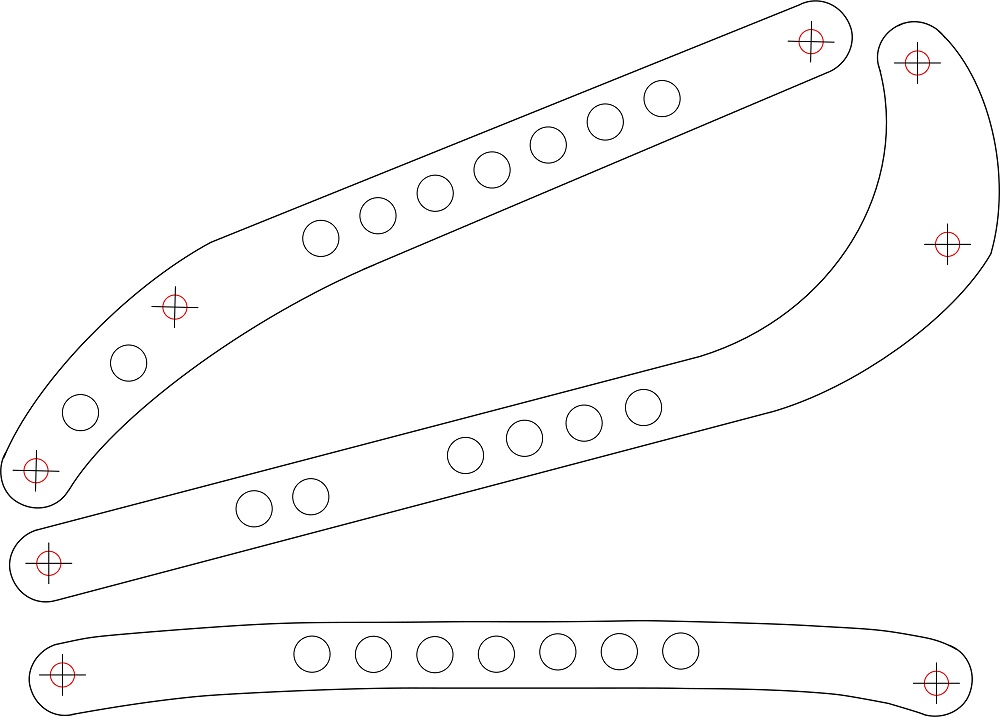
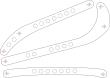 Bracket arms design sent to the waterjet cutting company.
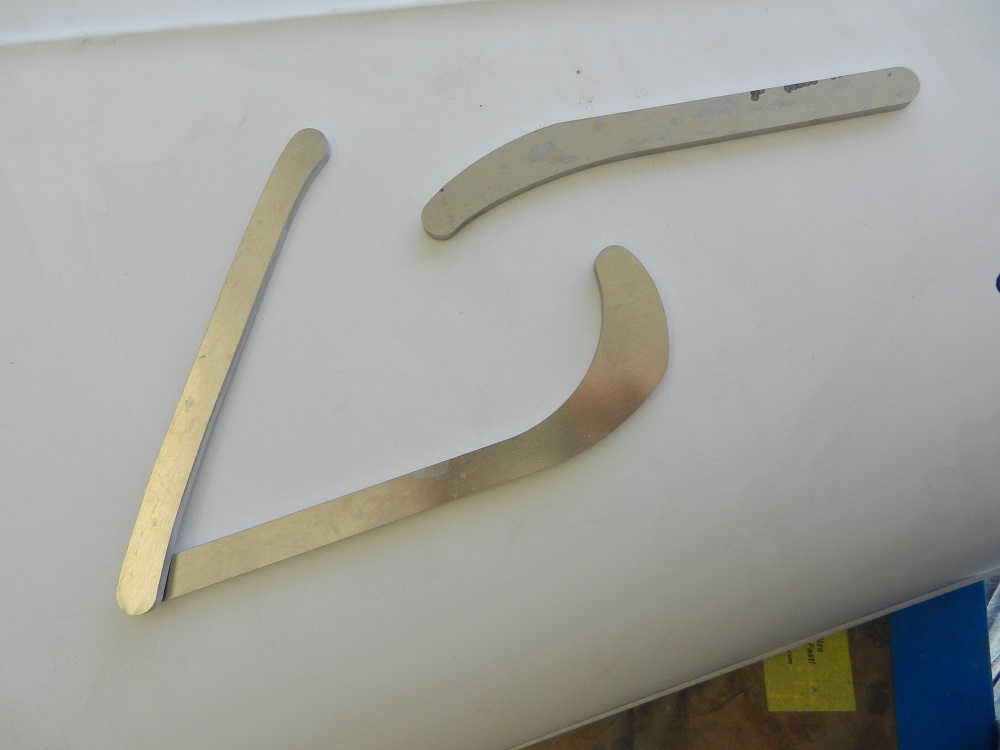
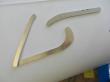 Raw bracket arms straight from the waterjet machine.
 One of the bracket arms - raw from the waterjet, drill template, and almost final.
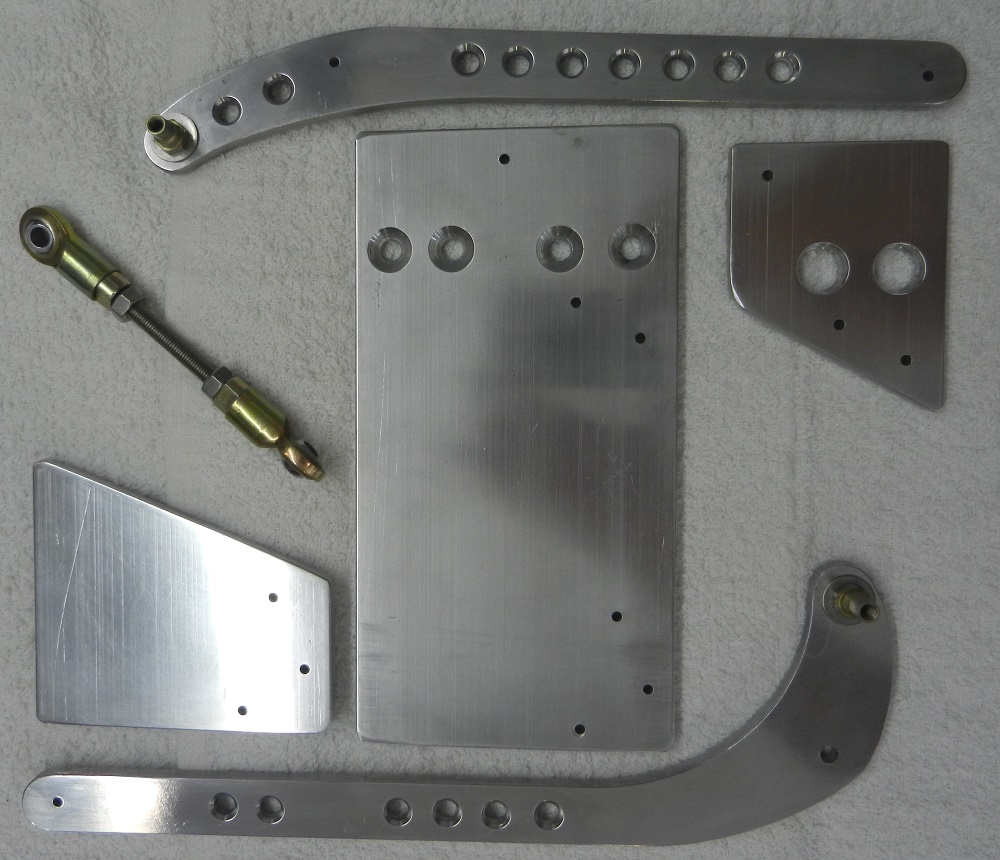
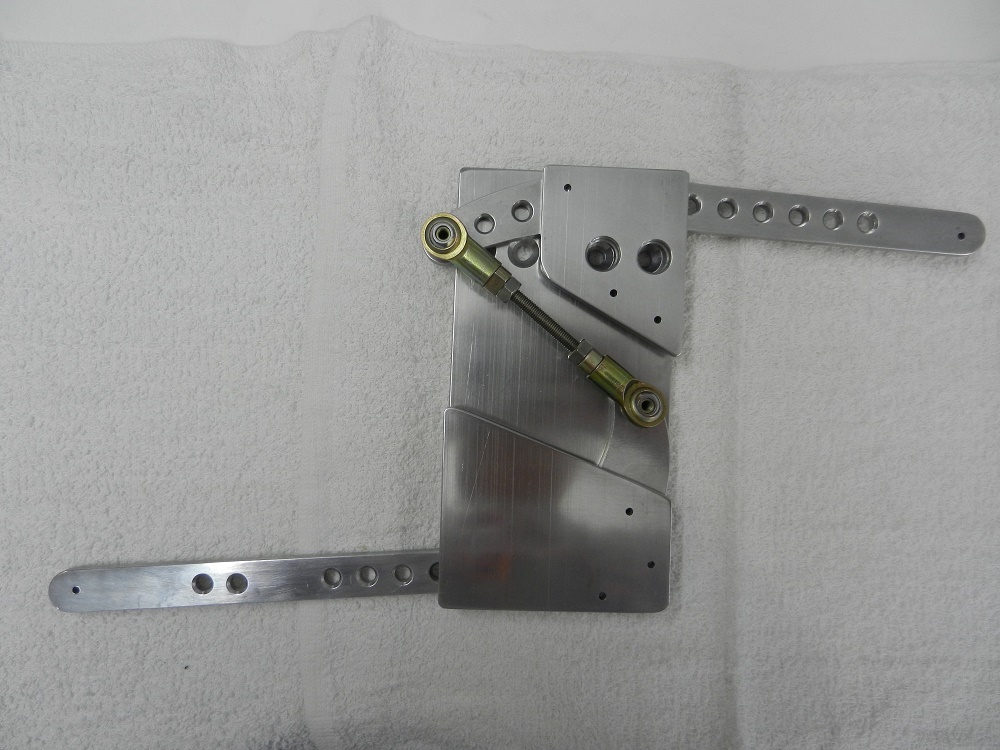
 The full set of parts [less hdwr & previously shown link arm] for one side.
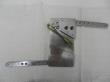 They will go together like this
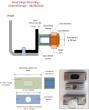 Weld-on adjustable captive nut plates
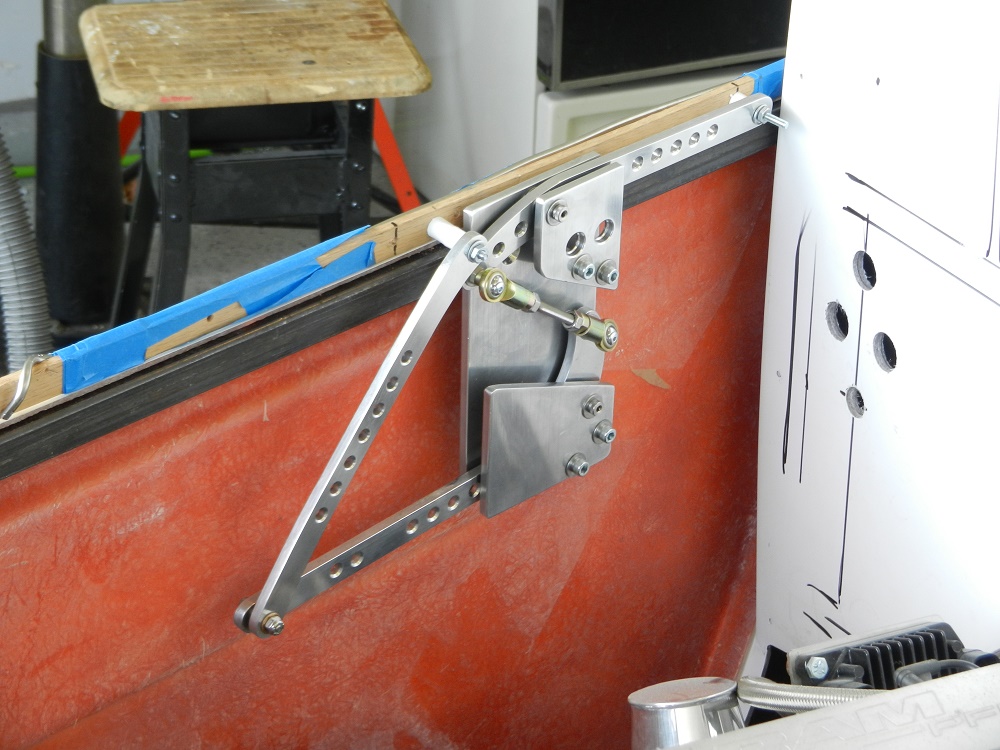
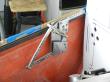 The "Real Thing" mounted - Down position
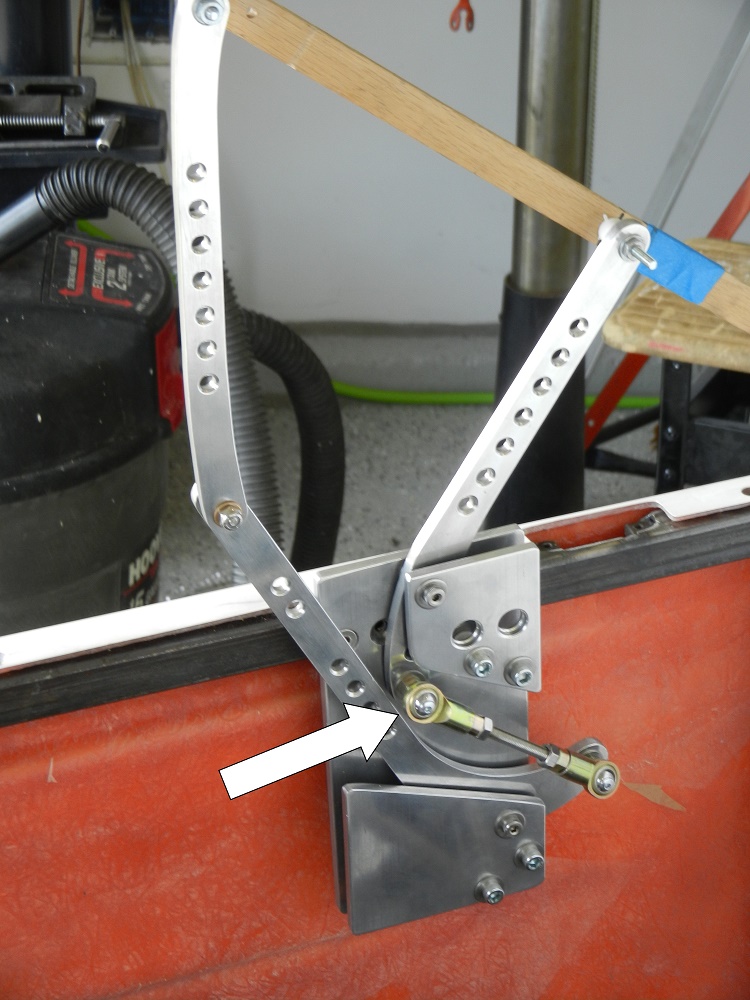
 New Hinge shown in the Up position. Note the built in stop.
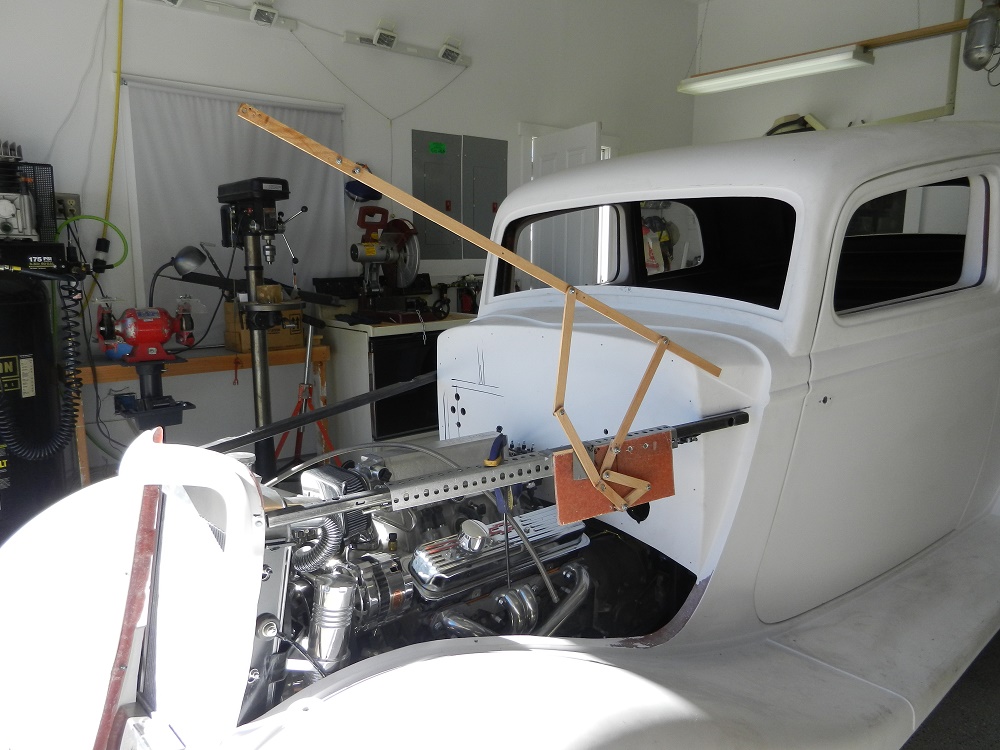
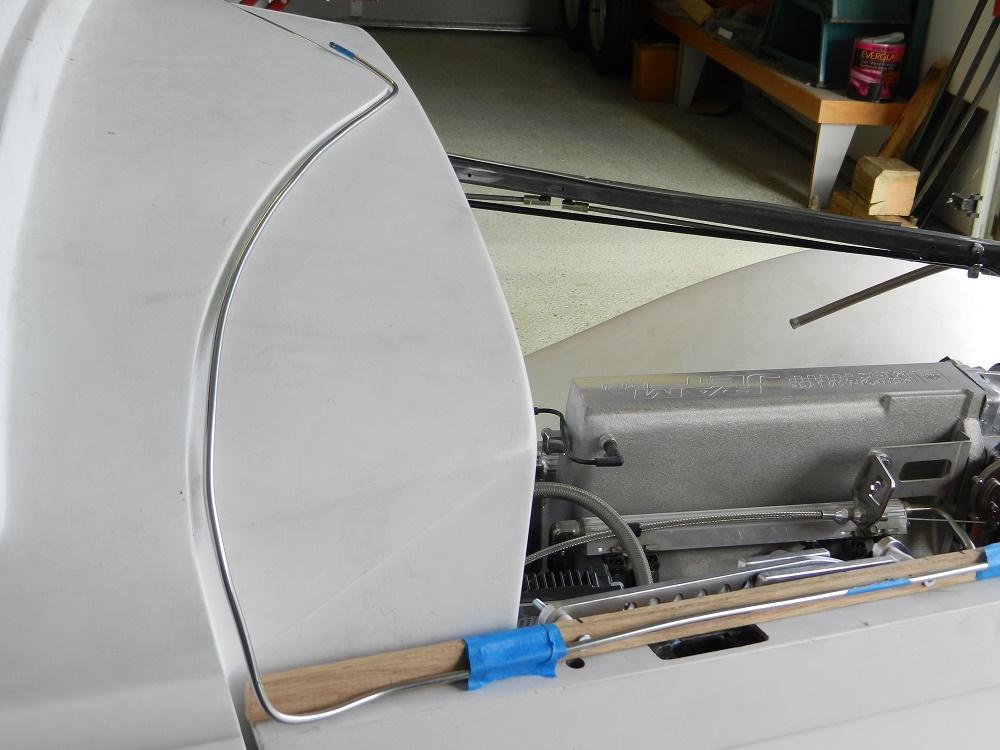
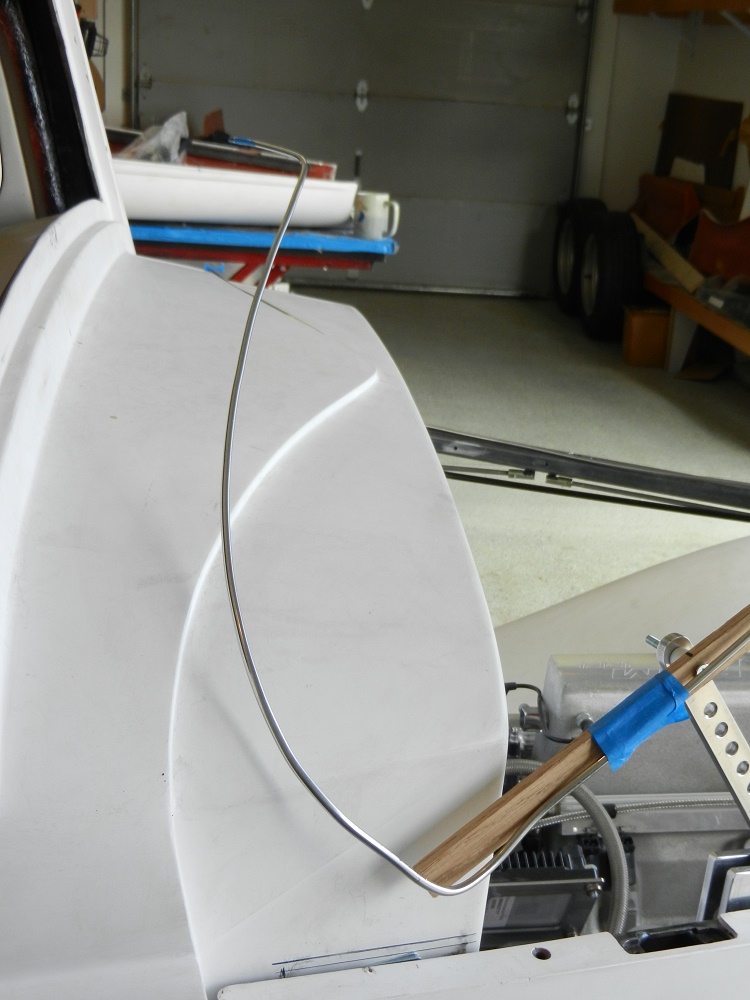
 Testing clearances with a wireframe mock up of the hood edge.
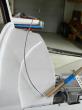 The 'Up' position of the wireframe.
 Last set of parts to complete both sides...
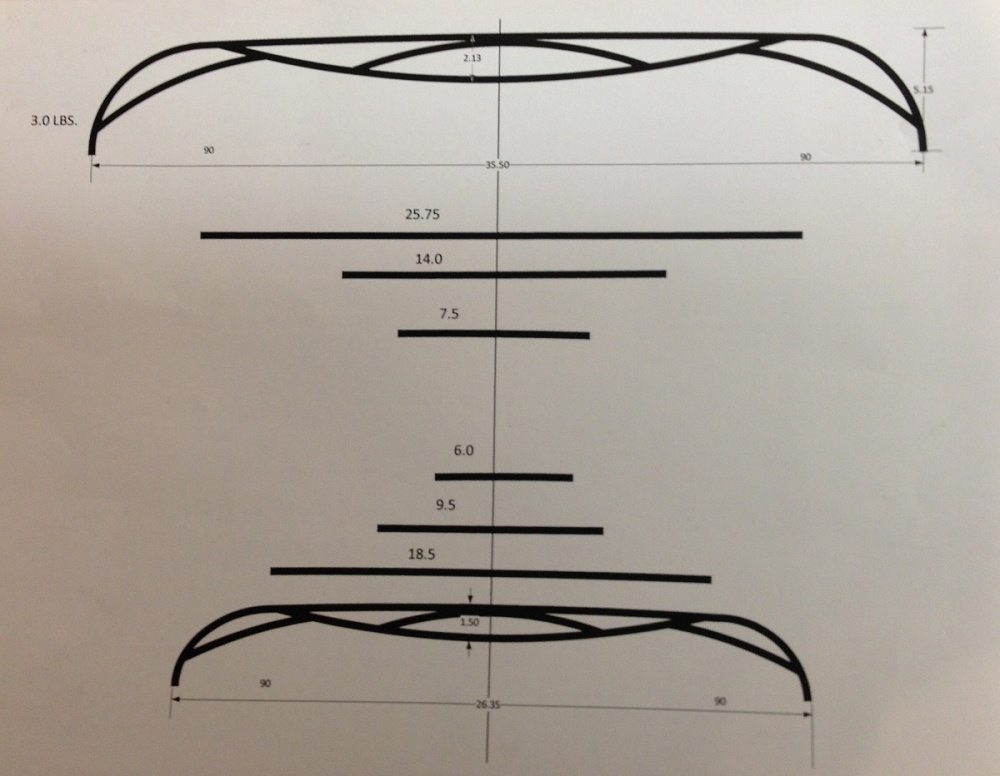
 Stiffening the hood - Designed the hood braces on computer
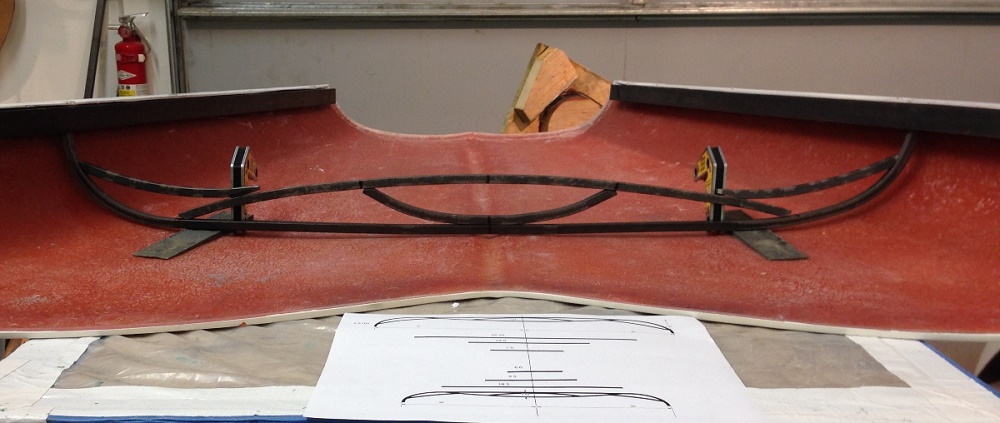
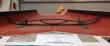 Braces are built from 3/8" solid square stock. Shown here prior to cleanup and welding
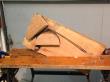 Homemade metal bending tool... don't laugh - it works!
 More pics will follow as the final construction is completed.


Click here for a movie of the wireframe test>>> Click
Page one - The beginning >>> click here
Page two - Chassis preparation >>> click here
Page three - Body preparation >>> click here
Page four - Interior preparation >>> click here
Page five - Building a trunk >>> click here
Page seven - Creating custom tail lights >>> click here
Page eight - Changing the grille shell >>> click here