warcon. com
Personal Website of Warren Conner
Vicky's Photo Gallery - Page five
This gallery details the trunk build... a project that came to mind when I realized that the original designer of the body intended to waste this space by making it inaccessible.
Click on any image for a larger view.
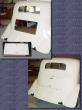 Say you want a trunk.... Cut a hole! Here is the trunk hatch, the cutout piece, and the final gap-fit prior to installing the hinges and latch.
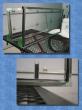 Inner & outer frame for the hatch. Inner shell to be welded to frame, forming the seal lip for the hatch cover. Outer frame to be bonded to body.
 Both body frame and hatch frame showing how they nest together. Spot welds will be ground smooth before installation. Ready for structural adhesive.
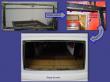 Inner frame is finished and bonded to body.
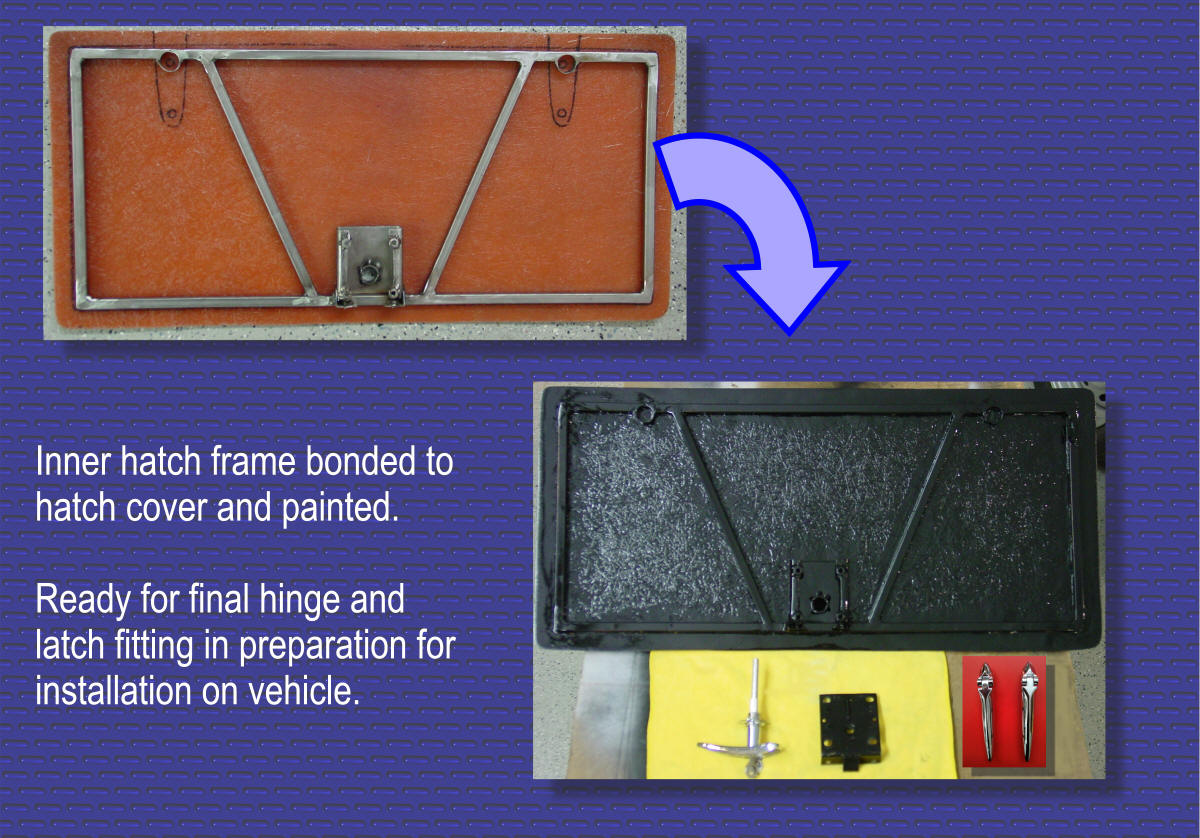
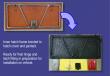 Trunk lid is finished and ready for installation....
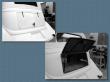 Except for the finish work - set gaps, level with body surface and paint - the trunk hatch is done! Just have to build the interior part of the trunk.
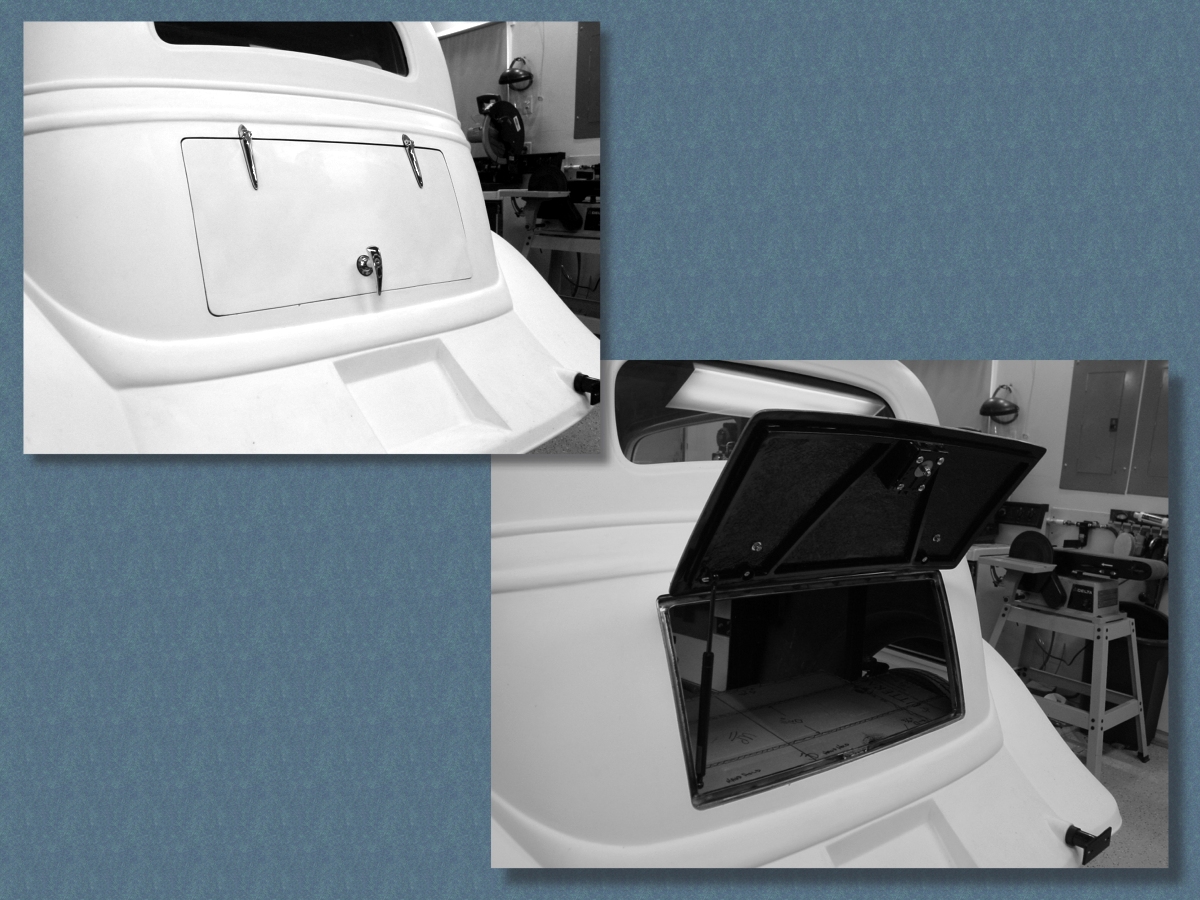
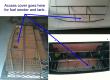 Layout, weld and first test fit of the trunk floor support. Next step will be to permanently weld in the frame and its support to the car frame...
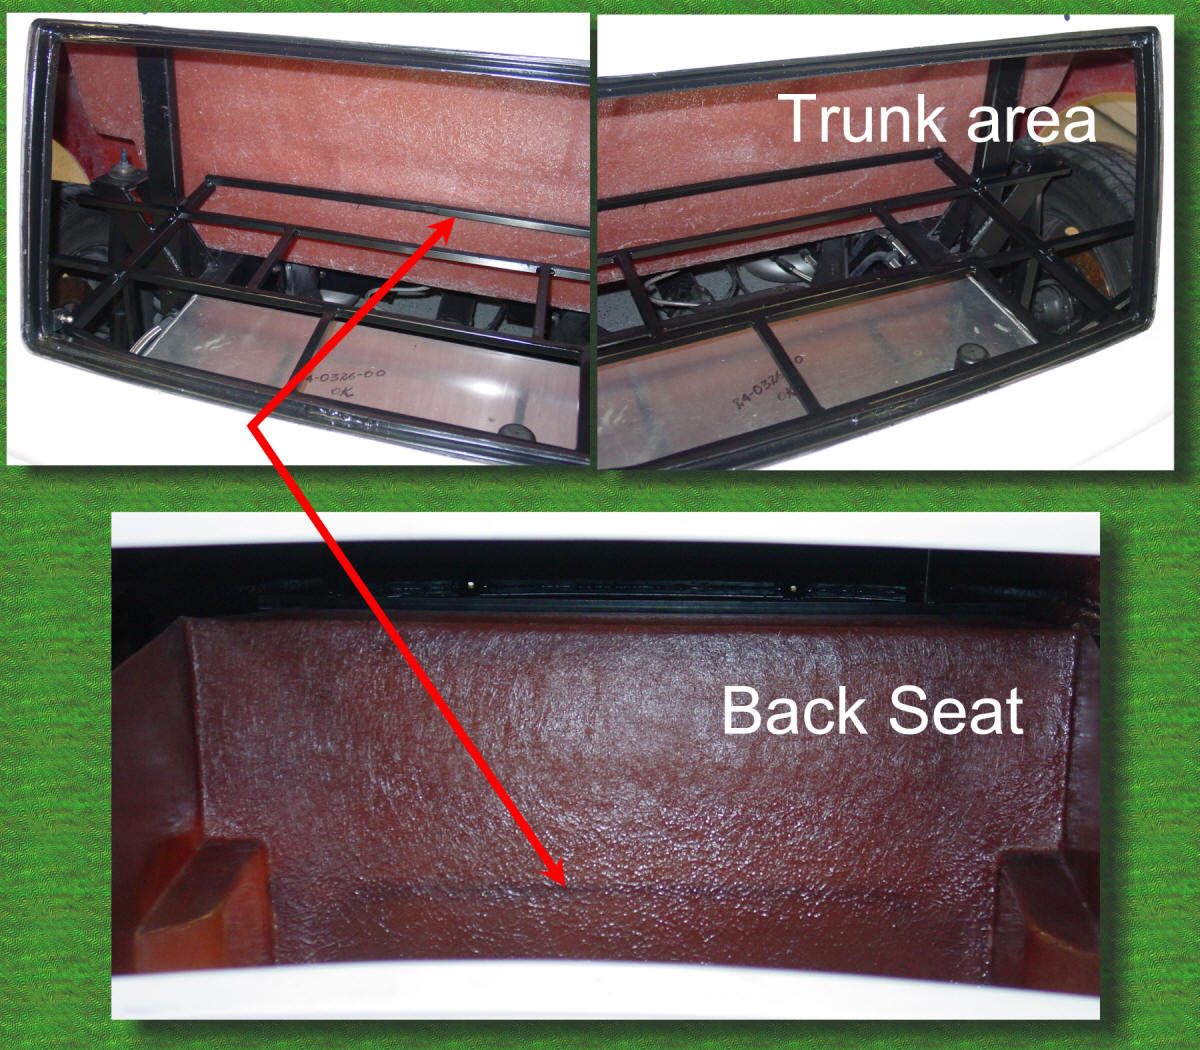
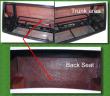 The trunk floor is complete, welded in and painted. You can just see the bottom of the trunk support showing thru the back seat. Next... fiberglass!
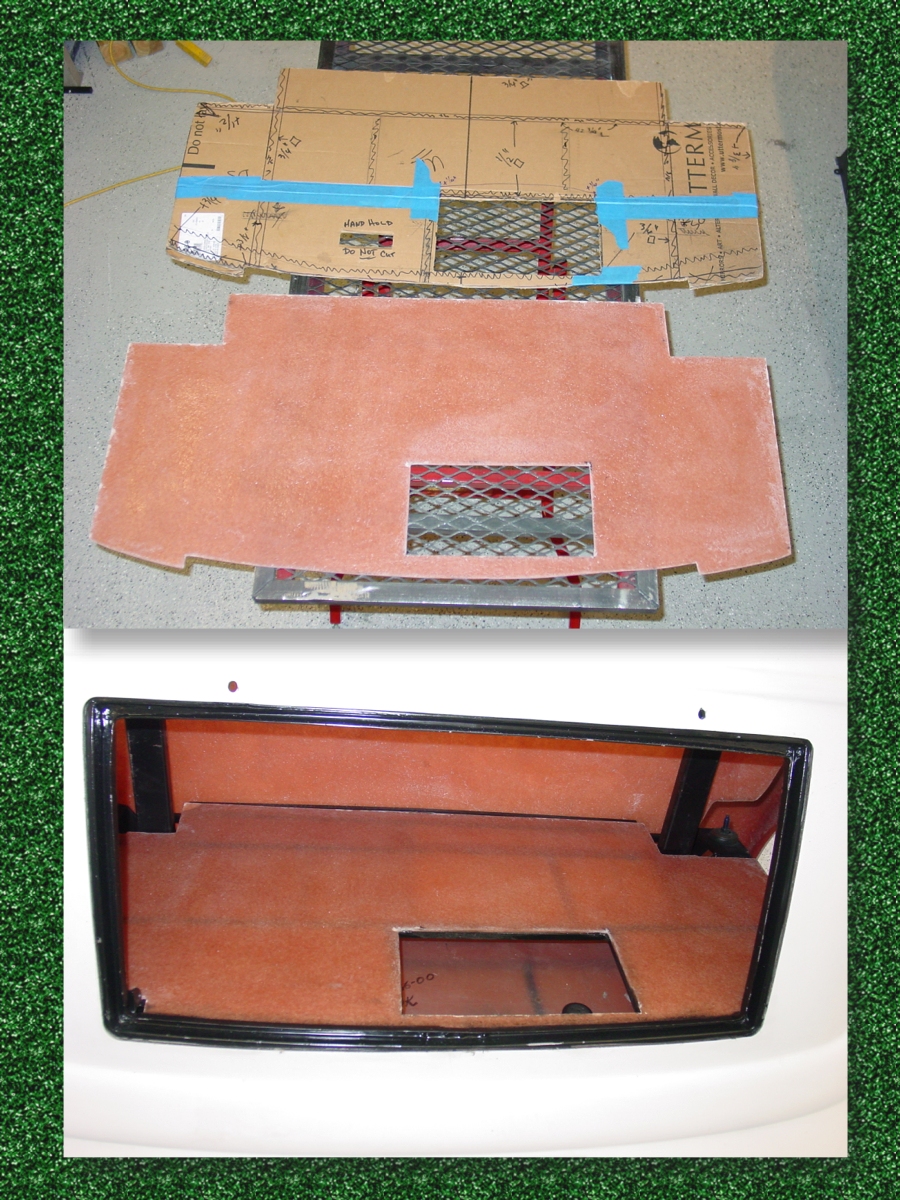
 Template for the trunk floor, and the fiberglass made from it...
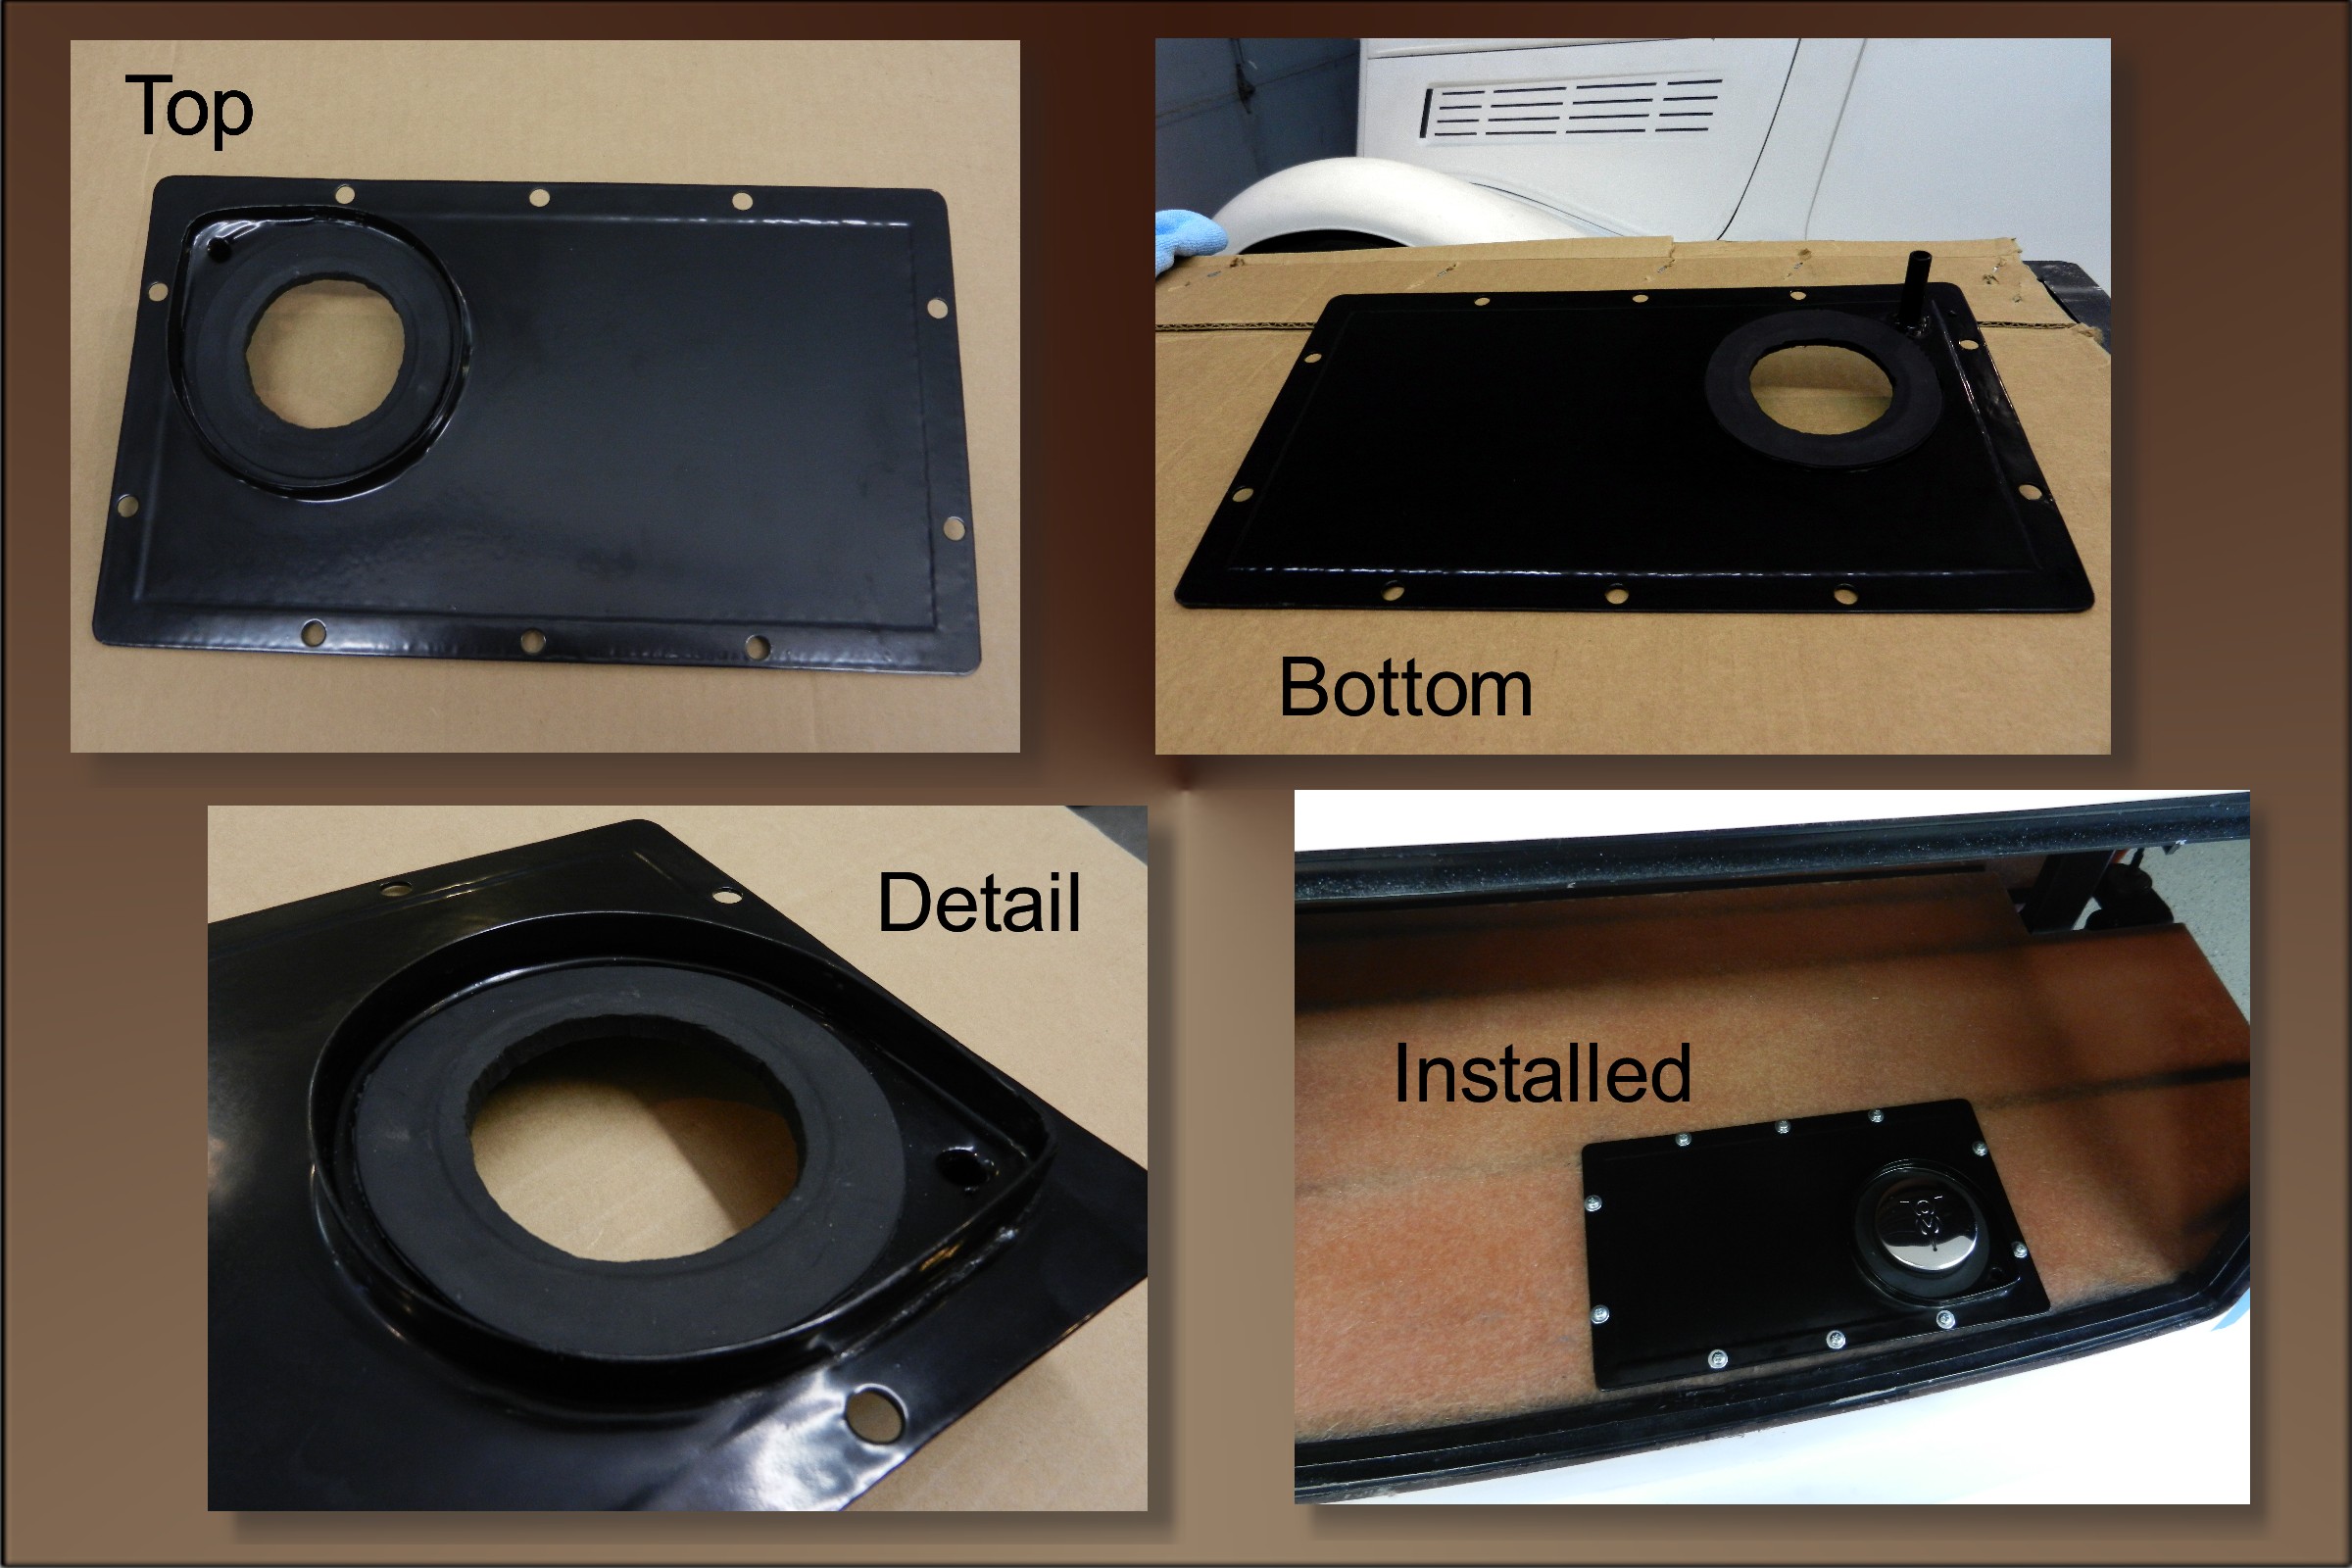
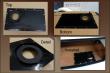 Fuel Tank/Sender access panel complete. A lot of work, and four pieces to weld and finish. Powder coat booth paid off again...
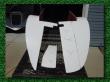 Inner fender liners for the back fenders have to be cut to fit with the trunk floor...
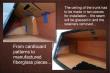 Pattern making from cardboard, and test fitting has become the norm....
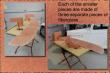 The next step is the very messy job of fiberglassing all of the pieces to the body and trunk floor...
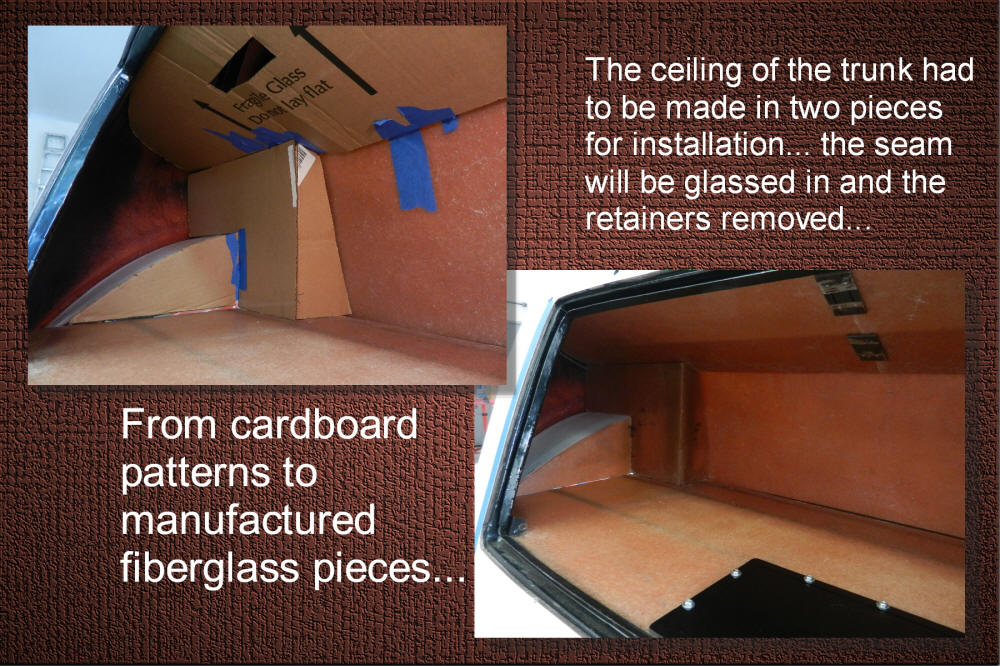
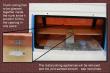 Finally, joining all the fiberglass pieces of the trunk into one!
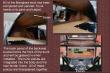 It seems that it has taken forever, but it has only been 11 1/2 months since I first cut the hole for the trunk! Then again - that is forever ! ! !


Page one - The beginning >>> click here
Page two - Chassis preparation >>> click here
Page three - Body preparation >>> click here
Page four -Interior preparation >>> click here
Page six - Changing how the hood opens >>> click here