warcon. com
Personal Website of Warren Conner
Vicky's Photo Gallery - Page
three
This gallery starts with prepping the body to be
mounted on the chassis, and goes through the completion of the body mount.
Also included in this section are repairs to the body that were necessitated
when a heavy object [me] fell on the front fenders from the top of a ten foot
ladder [the reason is another story :-(].
Click on any image for a larger view and/or series.
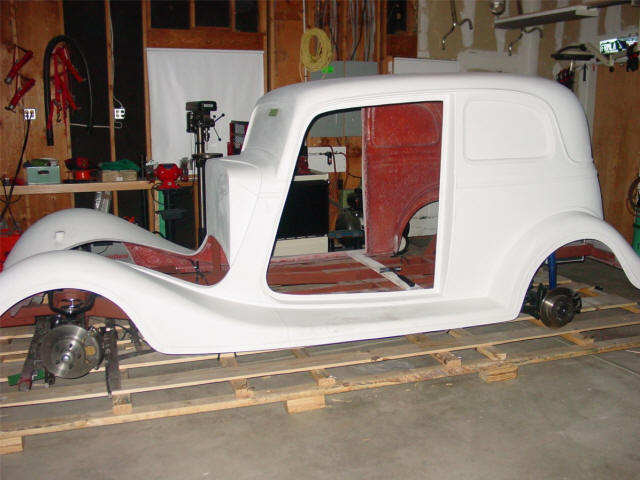
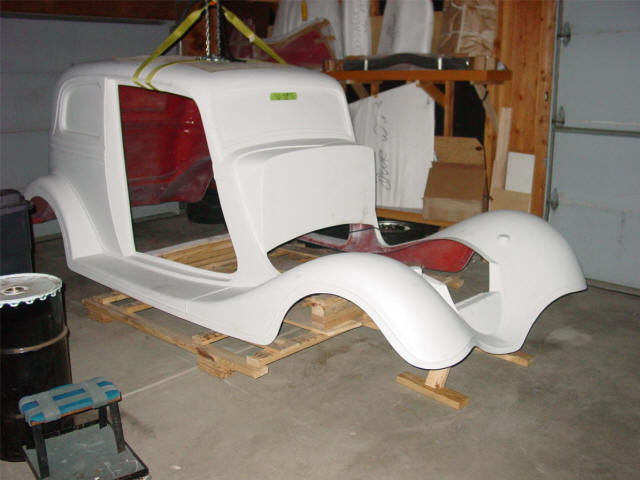
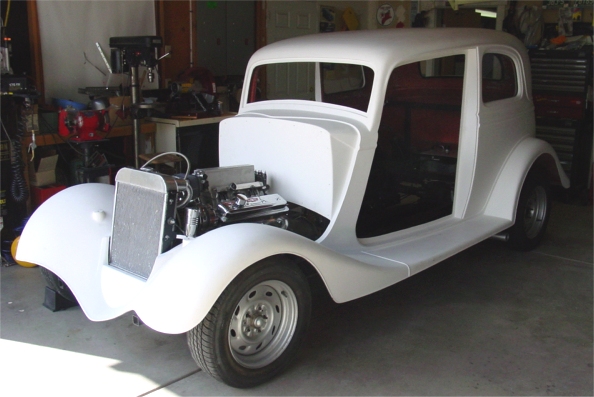
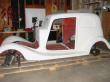 A reminder of what the body looked like on day one.
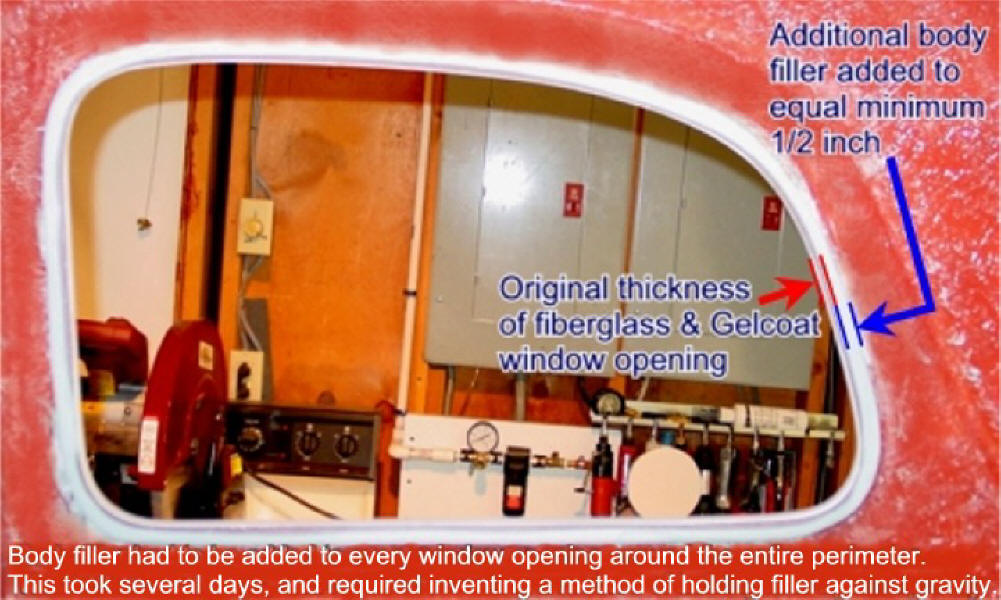
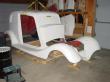 Each of the window openings had to be cut out and sanded smooth...
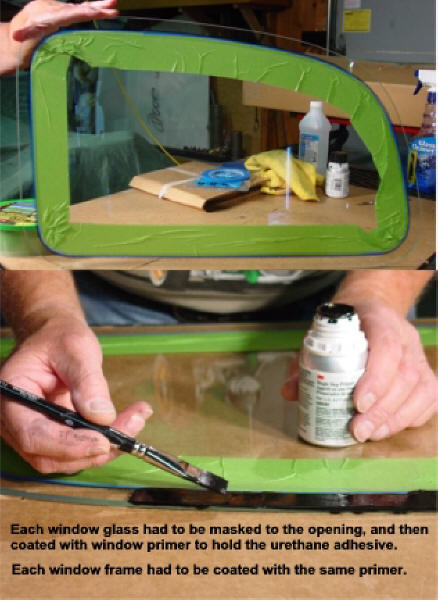
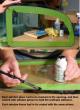 Installing the glass... this and the next two shots show the process.
 Building a suitable base for urethane and glass...
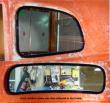 Adhering the glass to the previiously prepared base...
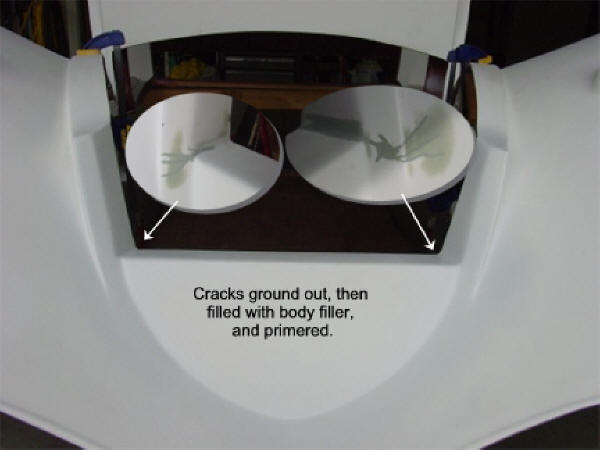
 Before and after shots of gelcoat cracks in the front - some stress and some accident related...
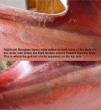 Repairing a couple of weak spots in the lower body...
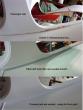 Lower body repair on the topside.
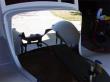 Stainless steel firewall is installed and polished to a mirror finish....
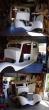 The body goes on... Finally !
 After a little trimming around the radiator... Starting to look like a real car ! The SS firewall will go back on soon.
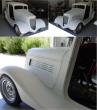 The body has been mounted front and rear and the front body panels have been mounted securely.
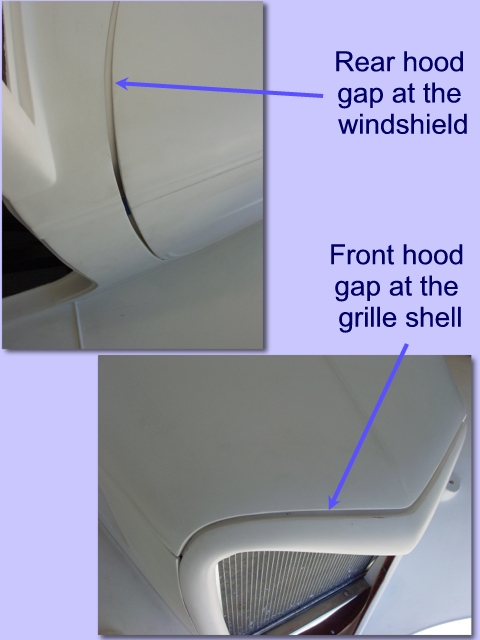
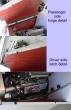 This was a lot more work than it looks like! Here are pics of the hood mounting details.
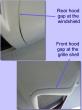 The body gaps are alarming, but stay tuned... It will all be fixed before paint. Watch for the details.
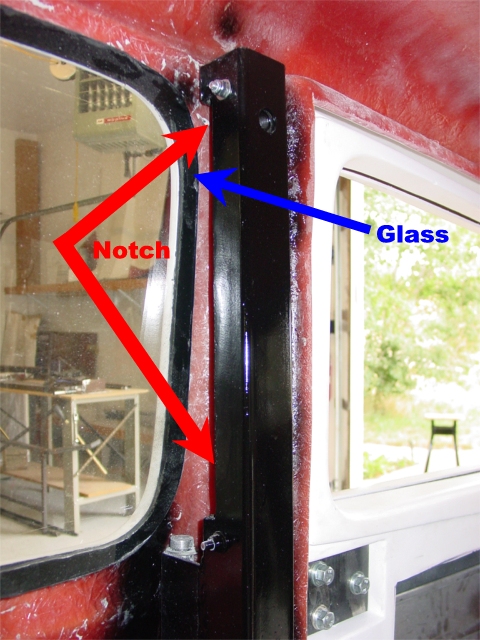
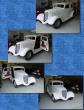 The doors are mounted and adjusted... Looks like a car, now! A really great milestone in the build!
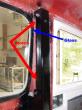 It was deemed necessary to notch the back inside corner of the door posts to avoid having broken rear windows if the car hit a bad pothole...


Page one - The beginning >>> click here
Page two - Chassis preparation >>> click here
Page four - Interior preparation >>> click here
Page five - Building a Trunk >>> click here
Page six - Changing how the hood opens >>> click here